|
|
|
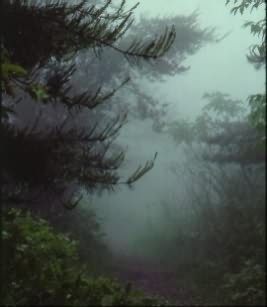
Now we are going to start combining pictures to get more of what you wanted a picture to look like. Using the same procedures as making title images we will make a picture that you have never had. Heres my background picture.

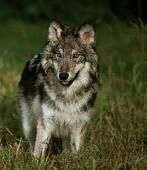
I wanted to put a picture of a wolf in the picture so that it looked like you just walked upon the wolf. So I took a wolf picture that I thought would work and cut the wolf out of his background. Here is the original wolf picture.

As you can see the background just would not look right in the foggy forest picture so I had to cut his picture away from the background. To do this I used the freehand tool
and set it to "point to point". Before I started using the freehand tool I expanded the wolf picture 2 or 3 times and made sure nothing was in the way when I started the point to point. The reason for this is that once you start a point to point you must finish it before you can do anything else. If you make a mistake while doing a point to point, right click your mouse and then Edit/Undo to clear the selection, and start over again. Do NOT try anything else to clear the PtoP. You can Lock up PSP by not finishing it. Just remember to RIGHT click and UNDO and everything will keep working.
Now that you have the freehand selection outlined, Click on the "Edit/Copy" button (shortcut is "ctrl+c"). Now highlight the forest picture by clicking on the header bar, then go up and click "Edit/Paste" (shortcut is "ctrl+l"). This transfers the freehand selection over to that picture. Left click in the center of the wolf, which is now a layer and move it to where you want to place it.
The wolf picture was kinda bright, so to make it look like it would fit in I used the transparency button in the layers control panel to reduce the transparency to 27%. This made the wolf fit in better with the fog.
We are done for now, its all i have made so far. It you are still interested in learning more about PSP then try my :
back to layer first page.
back to making a avatar.
back to PSP Basics Page